Studio workflow
Editing irises in Photoshop: workflow and limits
Photoshop can do everything iris editing requires. The question is not capability but minutes per iris — and whether two people in the same studio arrive at the same result.
Short answer
A clean Photoshop workflow for irises consists of a circular selection of the limbus, a soft mask on its own layer, healing and cloning on empty layers, structure and colour handled separately through adjustment layers, and a defined export. It gives complete manual control at a cost of roughly 20 to 60 minutes per iris and a result that depends on who is at the desk.
The workflow step by step
1. Selection and iris boundary
Start with the elliptical marquee, holding Shift and Alt, dragging outward from the pupil centre. That produces a circle around the actual centre. Align it to the visible limbus segments at the left and right — not to the lid contour.
Save the selection as a channel before doing anything else. It gets reused repeatedly: for the cut-out, for local structure and colour work, and for the final check.
2. Retouching on empty layers
Create an empty layer and work with the healing brush and clone stamp set to 'Current & Below'. The original stays untouched and every correction remains individually reversible.
The rule for source material is the same as in any other tool: same radial zone. Details in eyelashes in iris photography and reflections in iris photography.
3. Structure
For fibre micro-contrast, unsharp mask with a small radius and moderate amount works, as does a high-pass layer in soft light mode. Masking matters more than the settings: the effect belongs on the iris, not on pupil, sclera or lashes.
A large-radius high-pass layer looks impressive on screen and produces exactly the bright halos along crypt edges that read as over-sharpening in print.
4. Colour and contrast
Colour belongs on adjustment layers — curves for contrast, hue/saturation or selective colour for targeted changes, each masked to the iris area. The benefit is not only reversibility but comparability between the left and right eye.
Which adjustments keep the eye colour believable is covered in keeping natural iris colours.
5. Cut-out and export
Convert the saved selection into a layer mask and feather it slightly — a narrow, even transition is enough. Save a transparent version for further work first, and only then the flattened print file with its background.
Quality check
Before exporting: view at 100 percent, travel once around the edge, then zoom to the pupil transition. Those two places determine the impression in print.
Where Photoshop stays the better tool
Photoshop is not a worse tool — it is a general one. That is precisely its strength: it assumes nothing about the subject and therefore leaves every decision open.
- One-off pieces with high creative ambition
- Difficult captures where every decision needs individual judgement
- Unusual formats, montages and combinations with other material
- Late correction requests on an already delivered file
- Anything for which no repeatable rule exists
Where the effort tips over
The arithmetic is simple. At 20 to 60 minutes per iris and two eyes per client, one appointment ties up one to two hours of editing. At one appointment a week that is fine. At ten it is not.
Then there is variance. Two operators mask at slightly different radii, sharpen differently and saturate differently — so the studio has two products rather than one. Actions and templates reduce this but do not remove it, because the critical steps, circle placement and edge falloff, stay manual judgements.
| Criterion | Photoshop | Specialised workflow |
|---|---|---|
| Time per iris | 20–60 minutes | A few minutes per run |
| Pixel-level control | Complete | Limited to defined parameters |
| Same result from two operators | Depends on experience | Given by fixed processing |
| Montages and special cases | Strength | Only within the design features |
| Documented quality check | Manual | Automatic per version |
A specialised workflow as a complement
In practice the two are not alternatives. The sensible split is by task: the repetitive preparation — boundary, cut-out, structure, colour, output size — runs automatically, and Photoshop is used where an individual decision is needed.
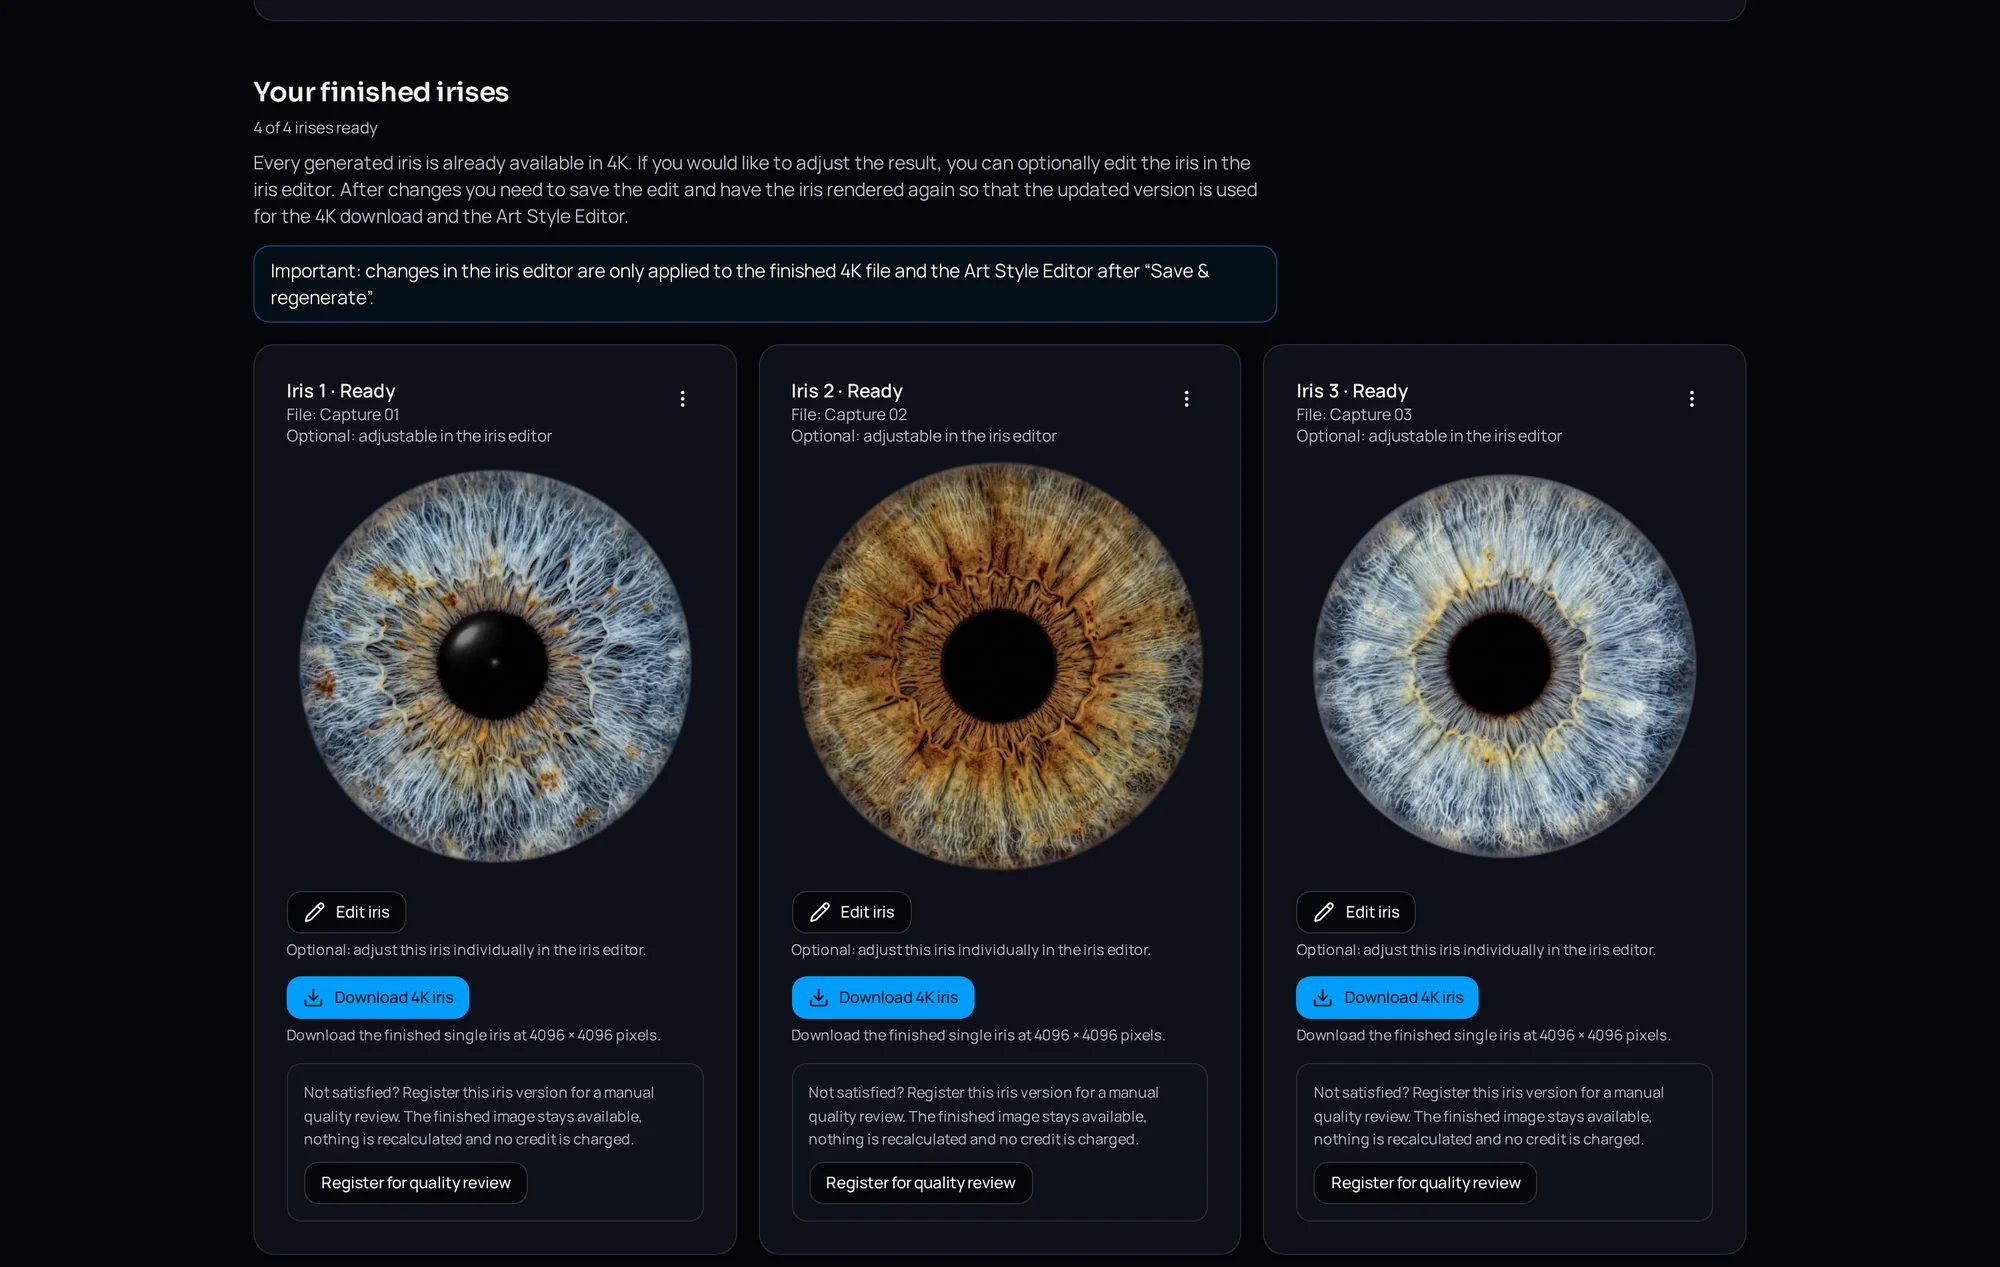
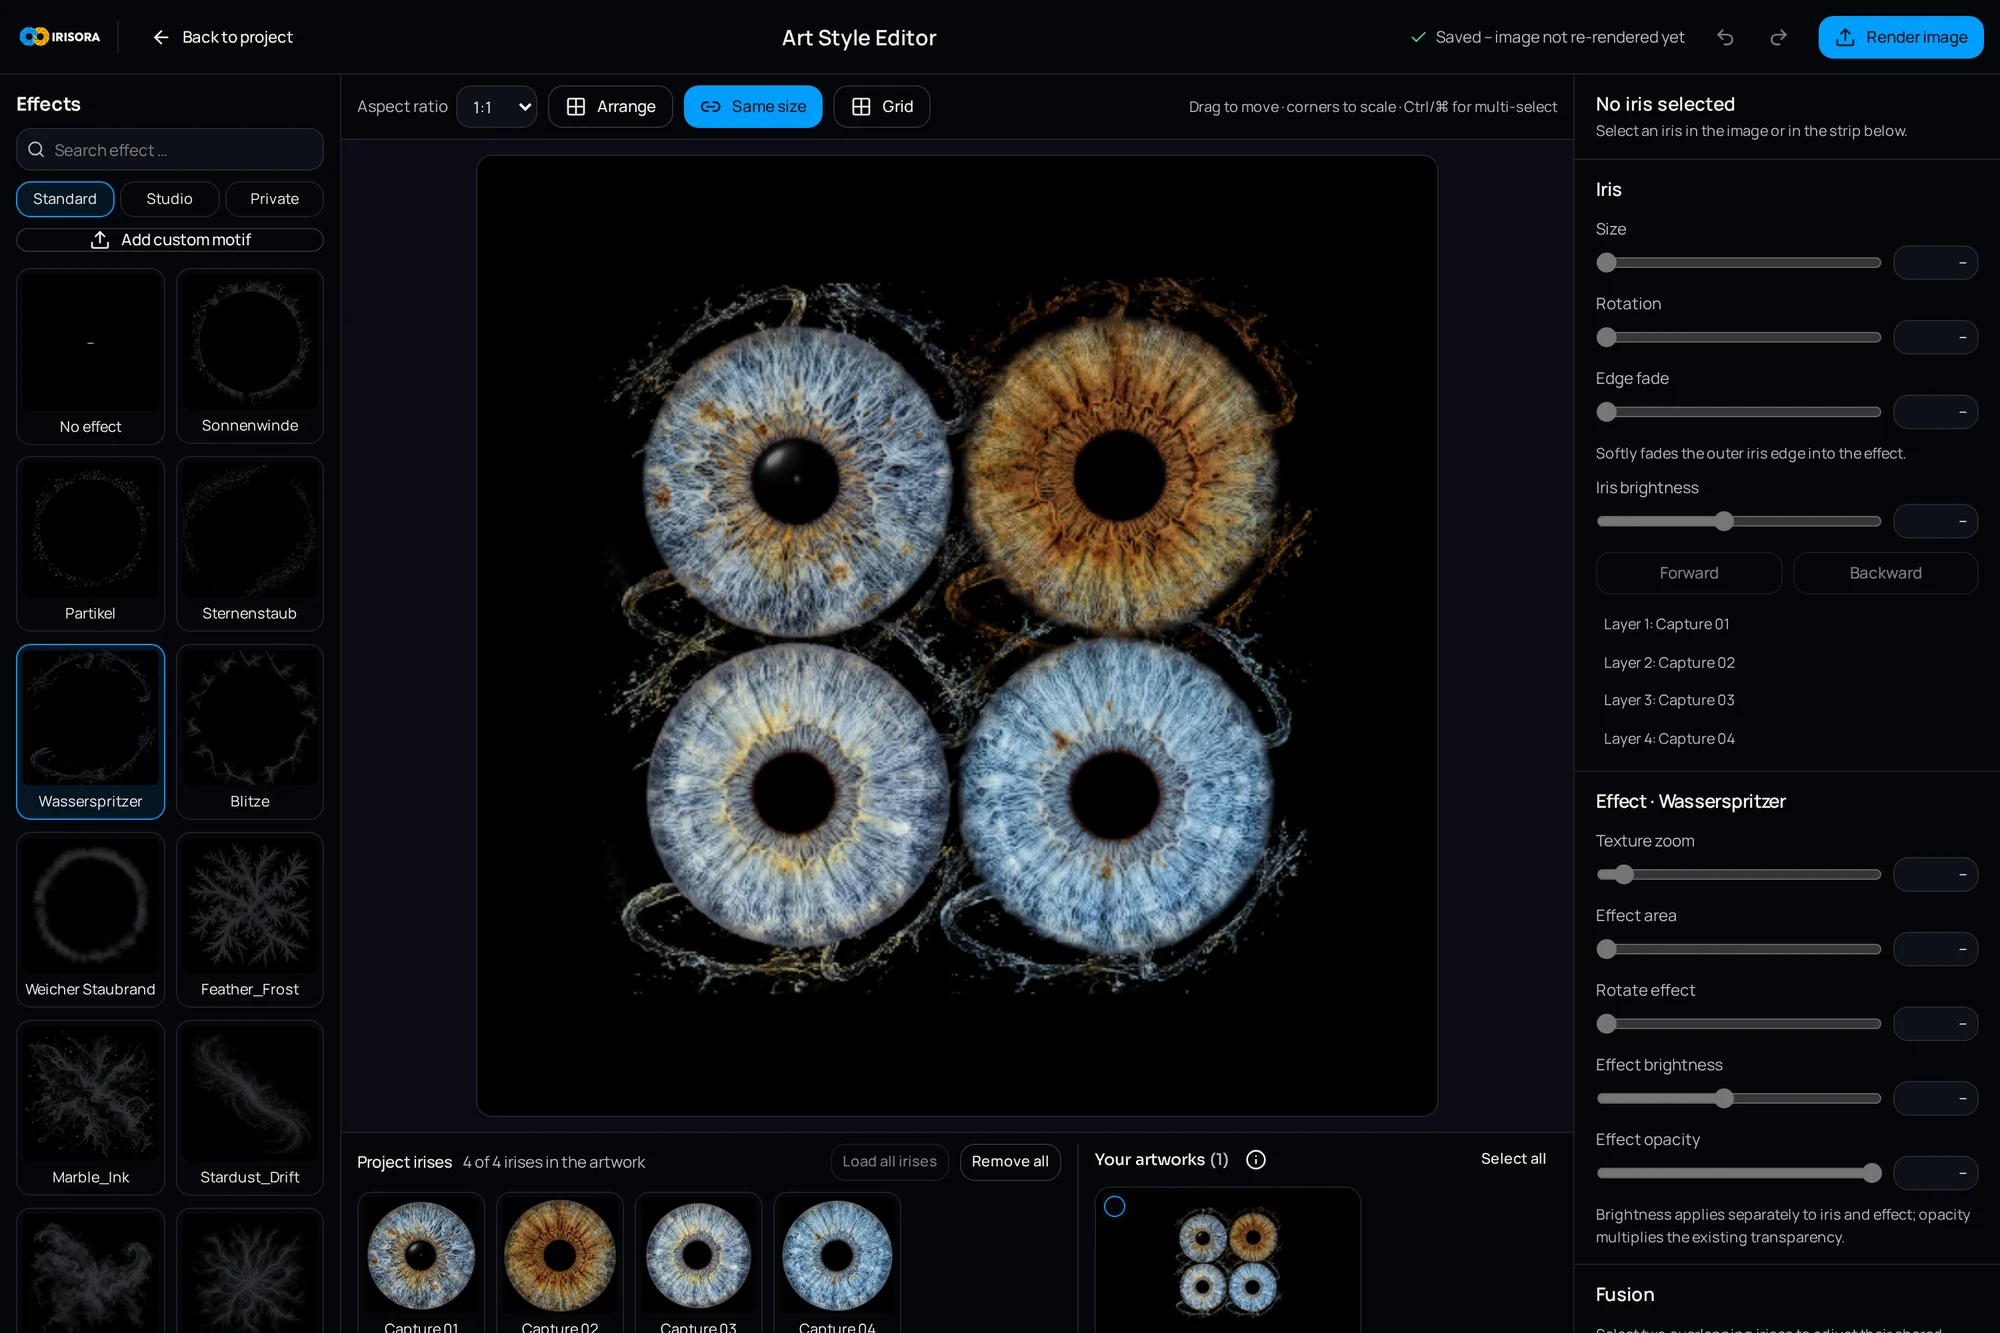
IRISORA is built for that repetitive part: the iris is isolated as a circle, prepared and output at 4096 × 4096 pixels, with a quality check on every version. Because the prepared iris comes with transparency, it can go on into the art style editor — or straight back into Photoshop.
What this means for the whole studio process is in the iris photography editing workflow and on the iris photography software page.
Frequently asked questions
- Can the Photoshop workflow be automated with actions?
- Partly. Structure, colour and export map well onto actions. Establishing the iris boundary and the edge falloff stay manual, because position and radius differ on every capture.
- Which Photoshop version is required?
- The workflow described uses standard tools that have existed for many versions: elliptical marquee, channels, layer masks, healing brush, clone stamp, adjustment layers.
- Is Lightroom suitable for iris photos?
- For culling, selection and initial tonal development, yes. For isolating the iris and retouching the boundary it lacks the necessary masking and repair tools.
Related reading
Hand off the repetitive part
Compare your Photoshop result with an automated preparation of the same capture. Five free edits, no base fee.
5 free iris edits included