Editing the iris
How to isolate an iris
Isolating an iris is not a selection problem. It is a reconstruction problem: the shape you need is never fully visible in the photograph.
Short answer
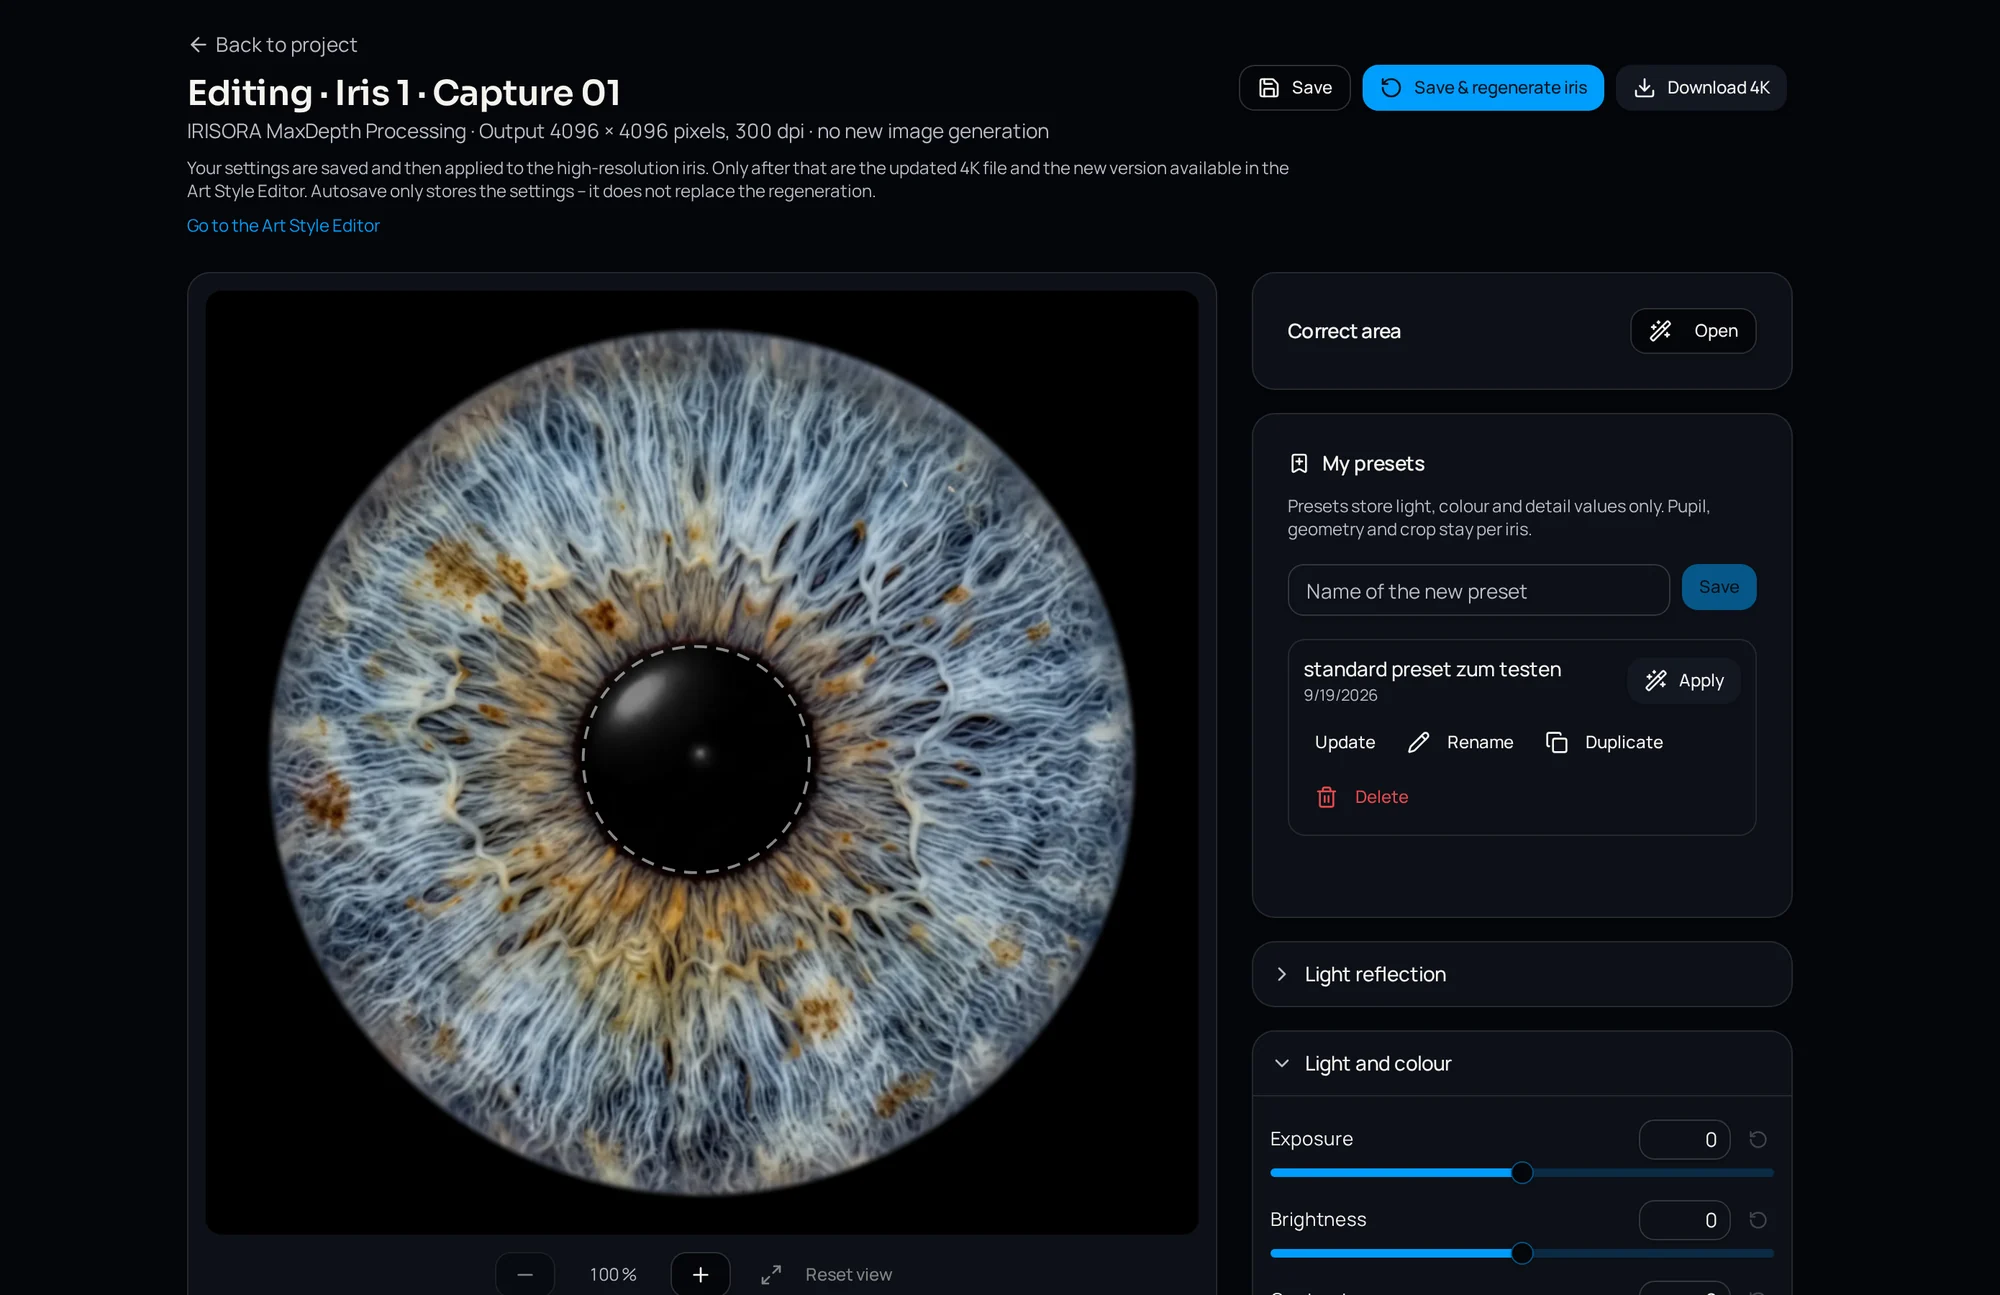
Isolating an iris means separating the iris disc from sclera, lids and lashes and outputting it with transparency. The boundary has to be estimated as a full circle from the limbus segments that are visible, because the eyelids always cover part of it. A soft, even falloff and a mask that stays just inside the limbus give a natural result; tracing the visible outline does not.
What is actually being isolated
The target is the iris disc: the coloured ring between pupil and sclera, bounded by the limbus. In a photograph that disc is partly hidden — typically the top by the upper lid and lashes, often a smaller part at the bottom.
So the visible coloured area is not the object. It is the object minus occlusions, and the job is to recover the object.
The outer boundary: estimated circle, not traced outline
Why a circle
The limbus is close to circular. When a capture is taken roughly head-on, the projection stays close to circular too. So the correct boundary can be estimated from partial evidence: the segments of limbus visible on the left and right almost always define the circle unambiguously.
IRISORA builds this boundary as a fully estimated circle from plausible limbus segments and then checks it — circularity, how much of the circle the segments support, and whether lid or foreign regions remain inside it.
Why tracing fails
A traced outline follows whatever is visible, which means it follows the eyelid. The result is an almond or lens shape. Placed on a background it reads as an eye opening, not an iris — and no amount of subsequent design fixes that impression.
Common mistake
The most common automatic-cut-out failure is exactly this: the algorithm follows the strongest edge, and the strongest edge in the frame is usually the lid margin, not the limbus.
Lids, lashes and missing areas inside the circle
Once the circle is set, parts of it contain no iris — they contain lid, lash or shadow. These are not masking problems, they are retouching problems, and they are solved before or after the cut-out rather than by moving the mask.
How far that can go honestly depends on area. A narrow lash crossing structured iris can be replaced from its surroundings. A wide band of lid across the upper third cannot — there is no source material that belongs to that eye. See eyelashes in iris photography.
| Obstruction | Approach | Limit |
|---|---|---|
| Narrow lash over structure | Replace from the same radial zone | Only over short distances |
| Soft out-of-focus lash | Reduce contrast rather than replace | Structure must still show through |
| Lash shadow | Local brightening | Detail is present, only darkened |
| Lid covering upper third | Re-shoot | No source material for that area |
| Sclera inside the circle | Move the mask slightly inward | Do not cut into the fibres |
Edges: hard, soft and the small safety margin
A hard edge exposes every inaccuracy of the circle and looks mechanical. A wide feather makes the iris look like it is dissolving. The usable range is narrow: a short, even transition of a few pixels at output resolution.
Equally important is where the mask sits radially. Placed exactly on the limbus, the bright sclera just outside it bleeds into the edge and produces a light rim on dark backgrounds. A small inward margin — a fraction of a percent of the radius — removes the rim without visibly cropping the iris.
Important
A bright rim on a black background and a thin dark line on a light background are the same defect seen from two sides: the mask sits a hair too far out.
Transparent output and why it matters
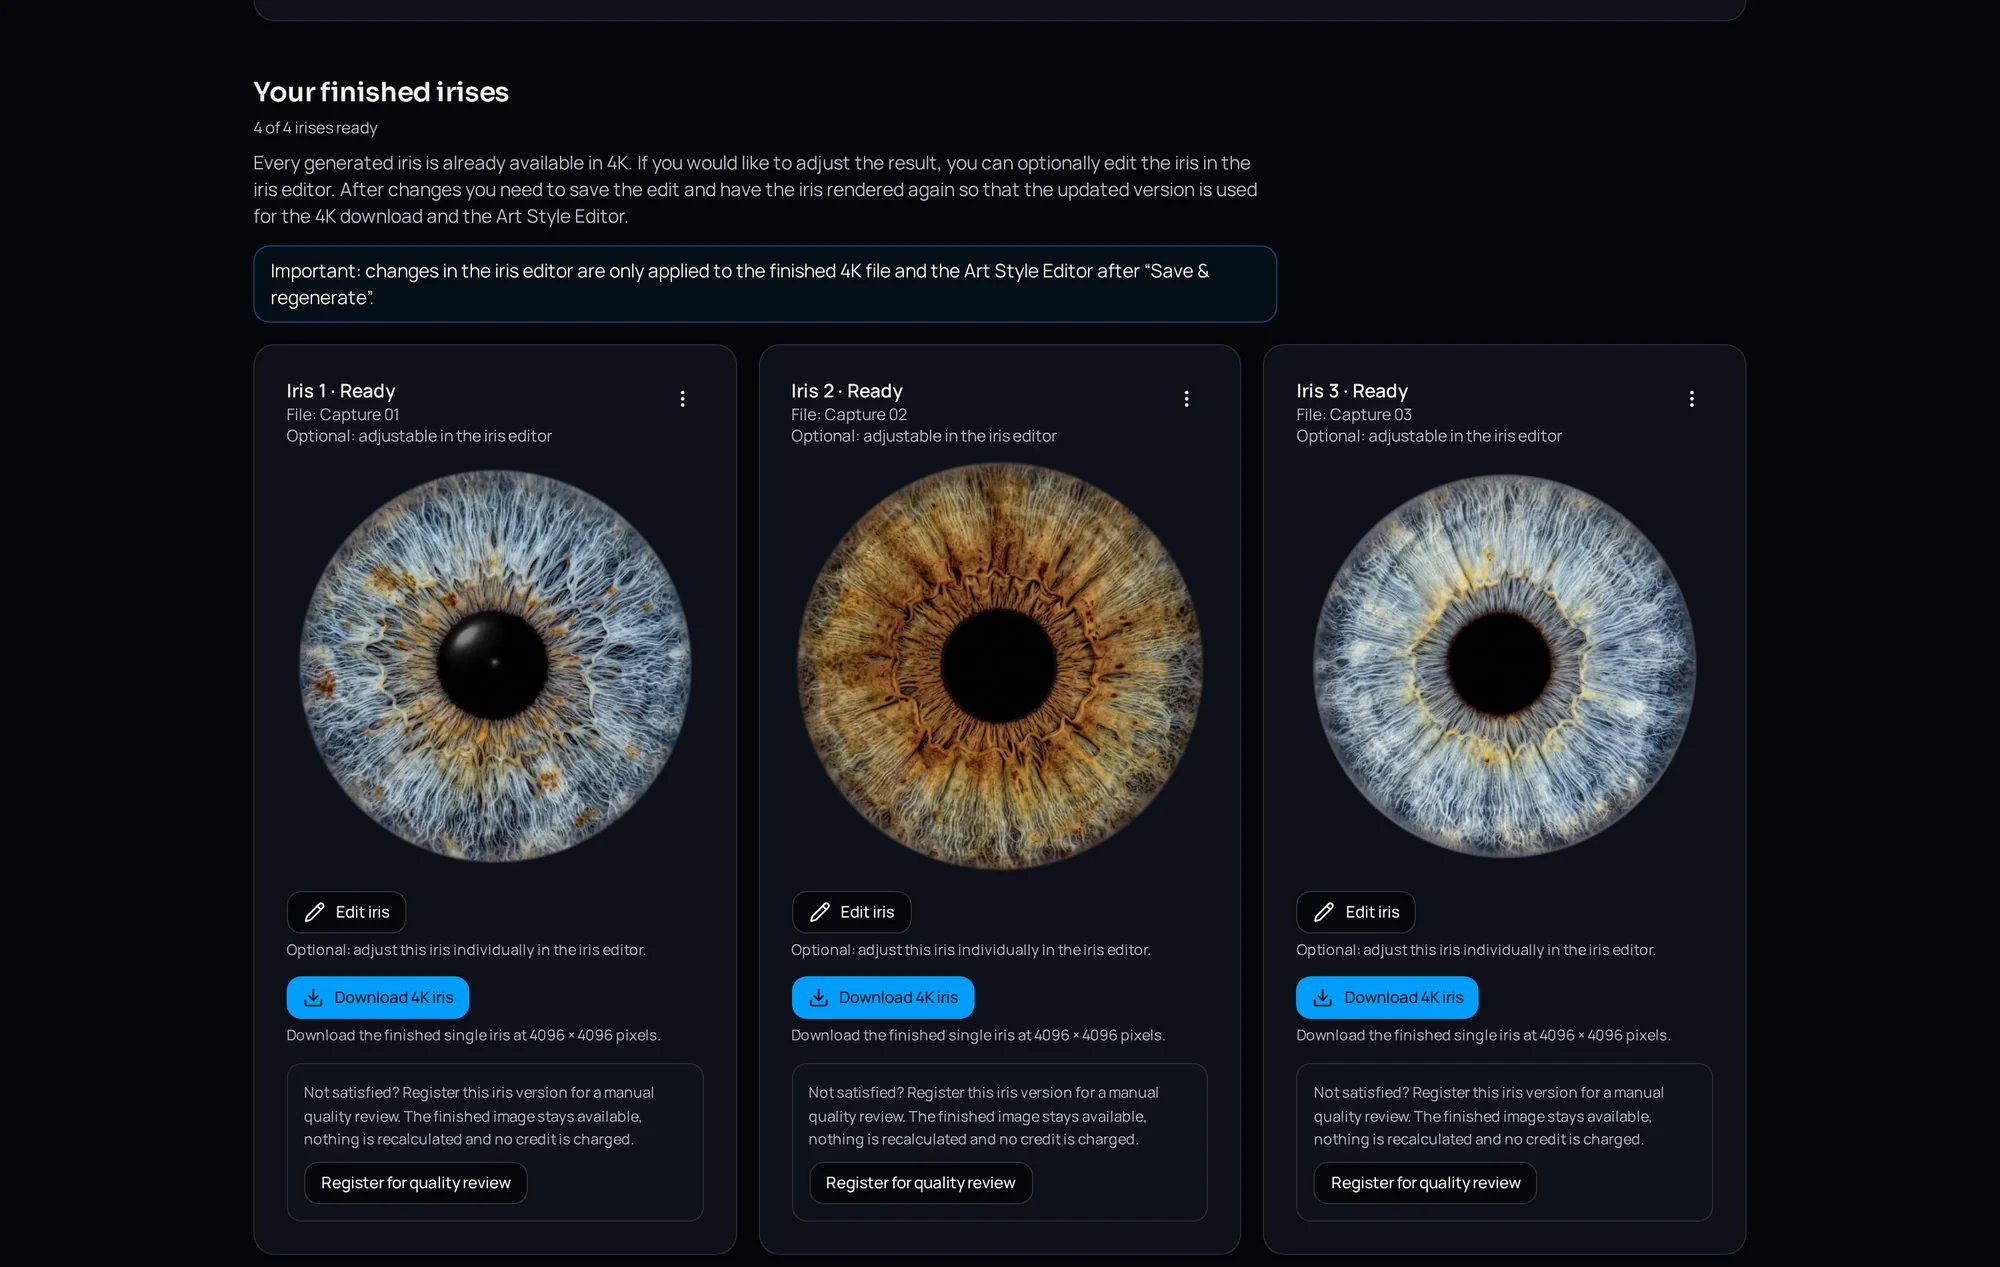
The deliverable of the isolation step is not a picture, it is a component: an iris on transparency. That file can be placed on any background, scaled, rotated and combined with other irises without repeating the work.
A flattened file with a baked-in background is a dead end. The next order in a different format means starting over. Archive the transparent master — see how to create iris art for what happens next with it.
Why aggressive isolation looks wrong
There is a temptation to remove everything that is not pure iris: every lash trace, every hint of the outer transition, every irregularity of the limbus. The result is a perfectly clean disc that looks computer-generated.
Real irises have a slightly irregular outer transition, and a trace of it keeps the image reading as a photograph. How clean the result should be is a decision to make with the client, not a technical default — particularly the difference between a documentary image of their eye and a graphic artwork.
Quality check
Check the cut-out at 100 percent on black, then on grey, then at final print size. Three views, about a minute, and it catches nearly every edge defect.
Where automatic isolation is reliable
On well-exposed, sharp, roughly head-on captures with visible limbus on both sides, automatic isolation is more consistent than manual work — not because it is smarter, but because it applies the same radius logic and the same falloff every time.
It becomes unreliable where evidence is missing: heavy occlusion, soft focus, strong off-axis angle, or very dark irises with low contrast against the pupil. That is why an automated pipeline needs a check per version rather than blind trust. More on that balance in AI in iris photography.
Frequently asked questions
- Should the pupil be removed too?
- Usually not. A dark, even pupil gives the iris visual anchoring. Removing it leaves a ring that looks unfinished on most backgrounds.
- What resolution should the transparent master have?
- The full output resolution — for IRISORA files, 4096 × 4096 pixels. Archiving a downscaled transparent version defeats the purpose, since large reorders would need re-processing.
- Why does my cut-out show a bright ring only on dark backgrounds?
- Residual sclera inside the mask. Move the mask slightly inward and keep the falloff even; the ring disappears without losing iris detail.
Related reading
See an automatic isolation on your own file
Upload one capture and check the edge at 100 percent — including the quality report for the estimated boundary. Five free edits included.
5 free iris edits included