How IRISORA works – in four steps
From upload to finished file: the whole process without jargon.
- Register for free
- 5 edits included
- No installation
- No base fee
The four steps
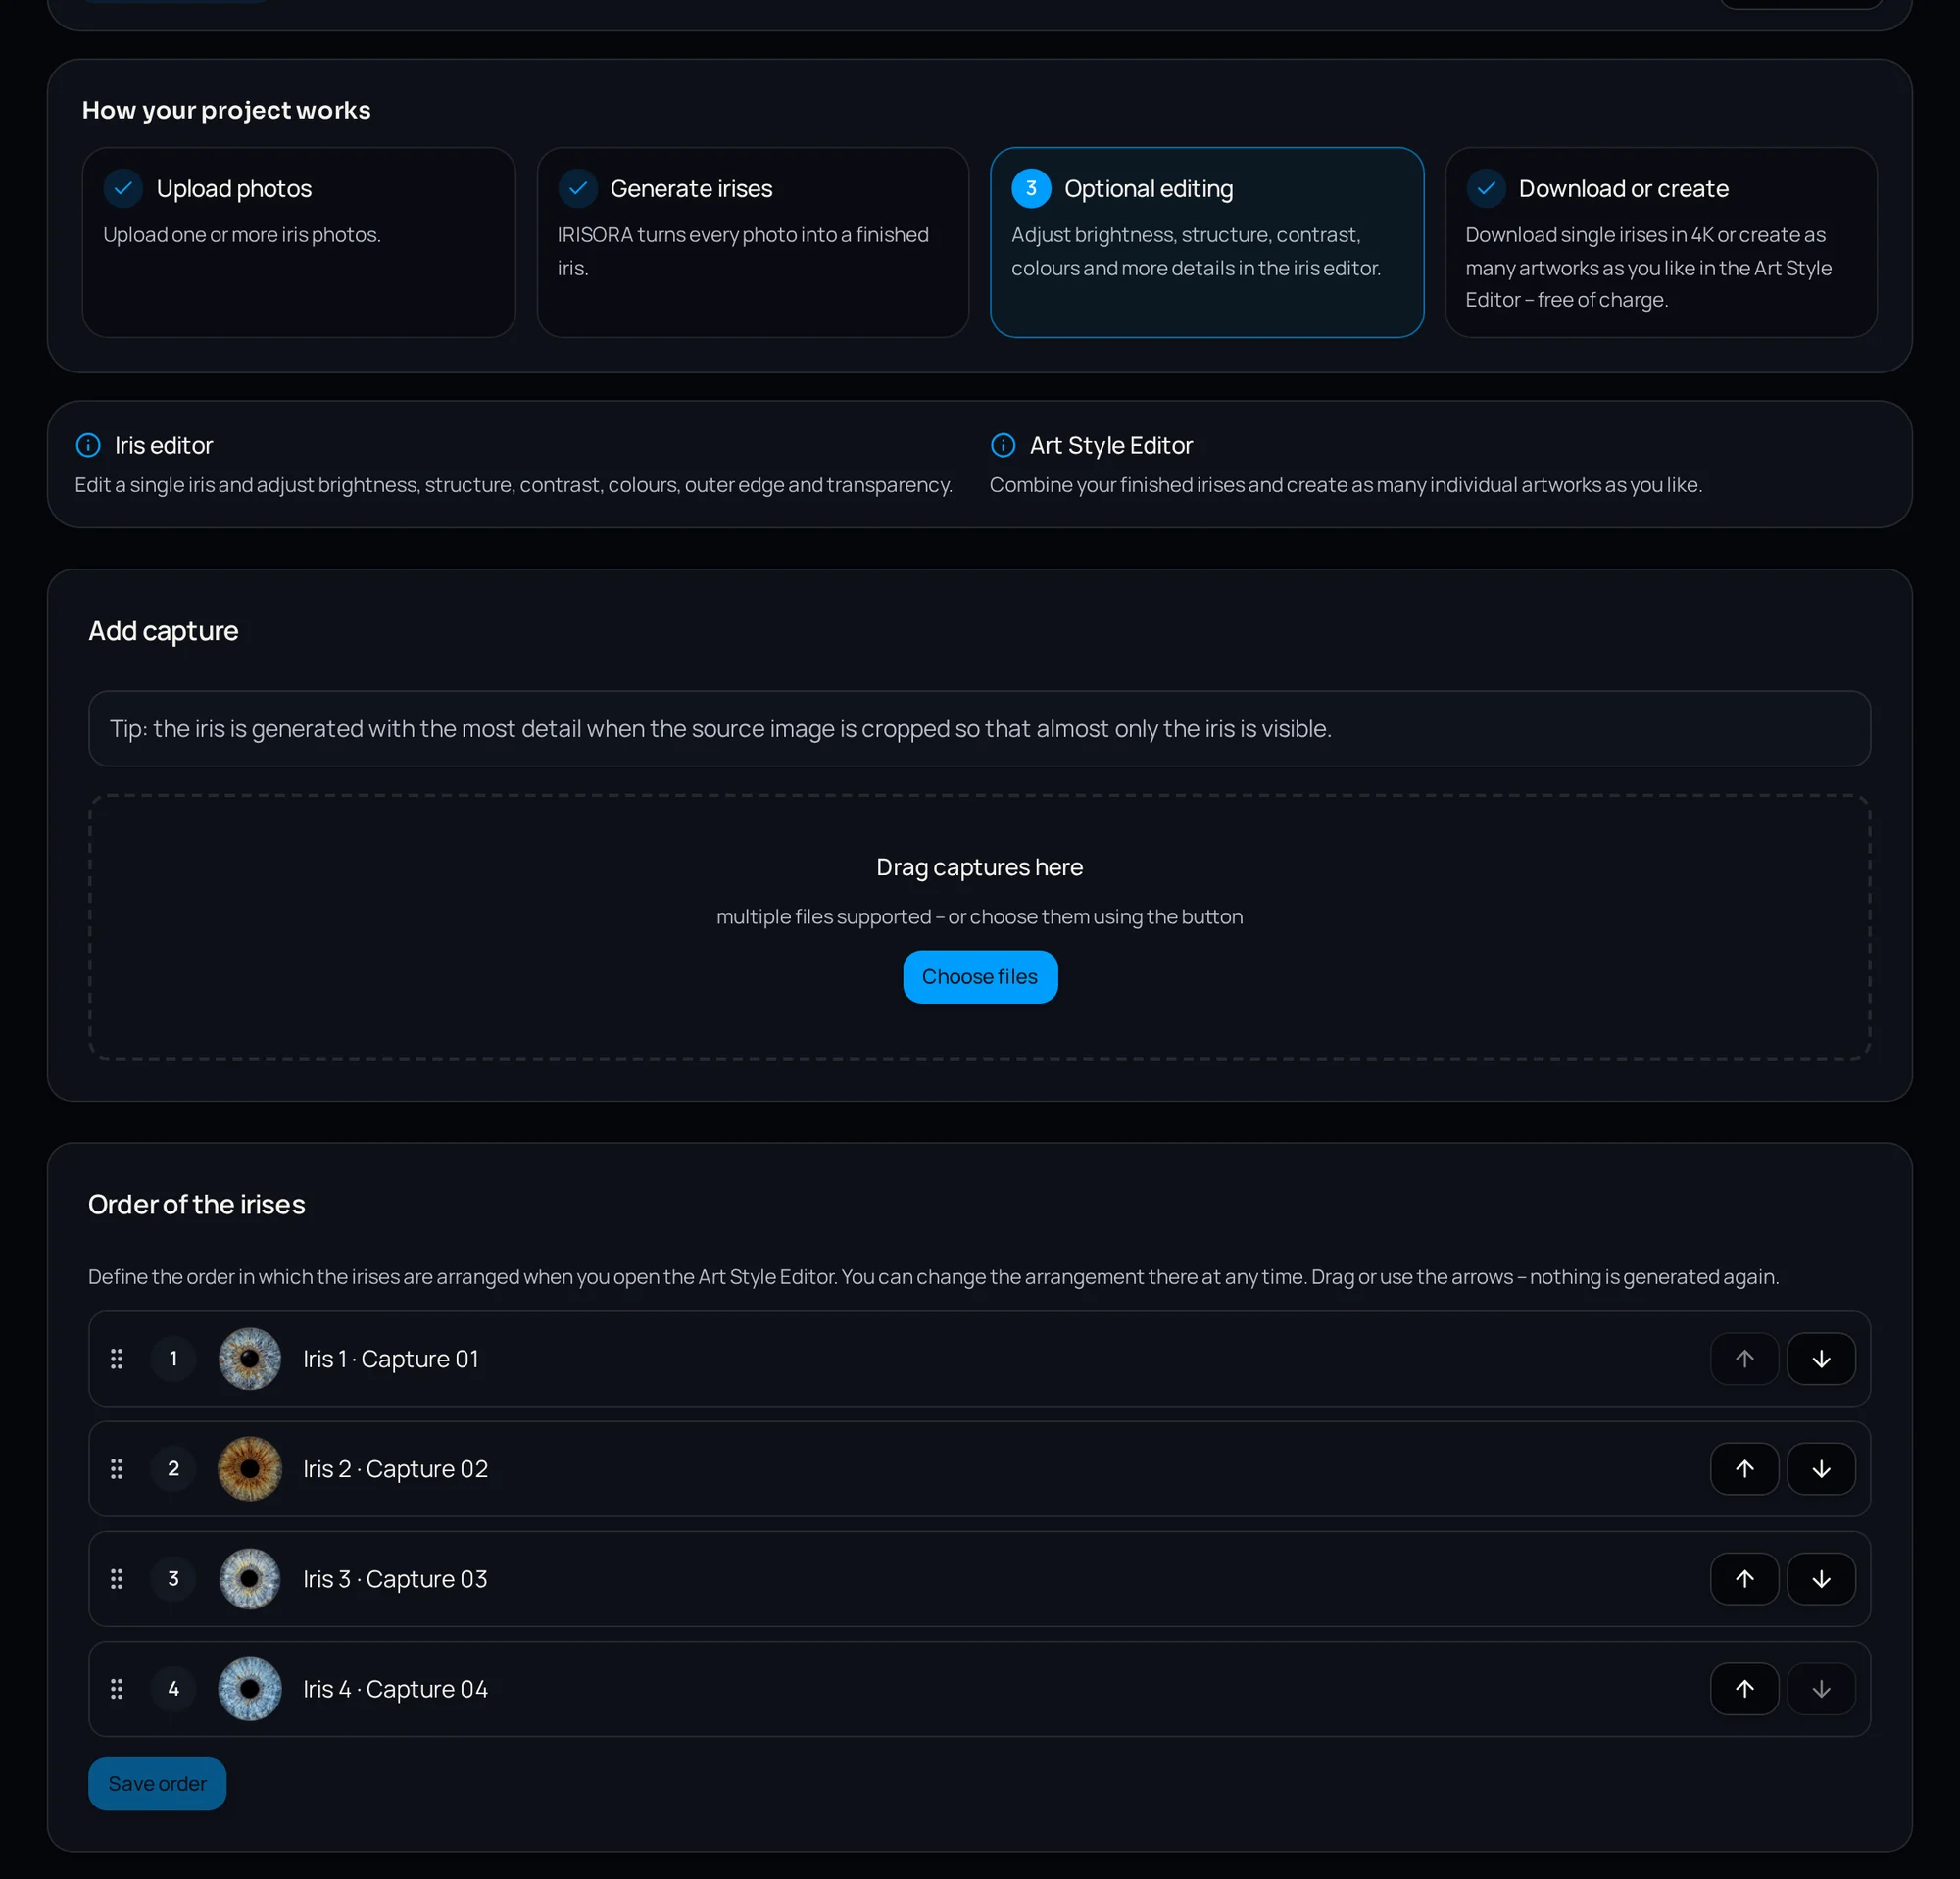
1. Upload the capture
Create a project and upload your studio captures. Nothing is calculated automatically.
2. Start processing
One click starts the work: cut out the iris, develop structure and colour, render to 4K.
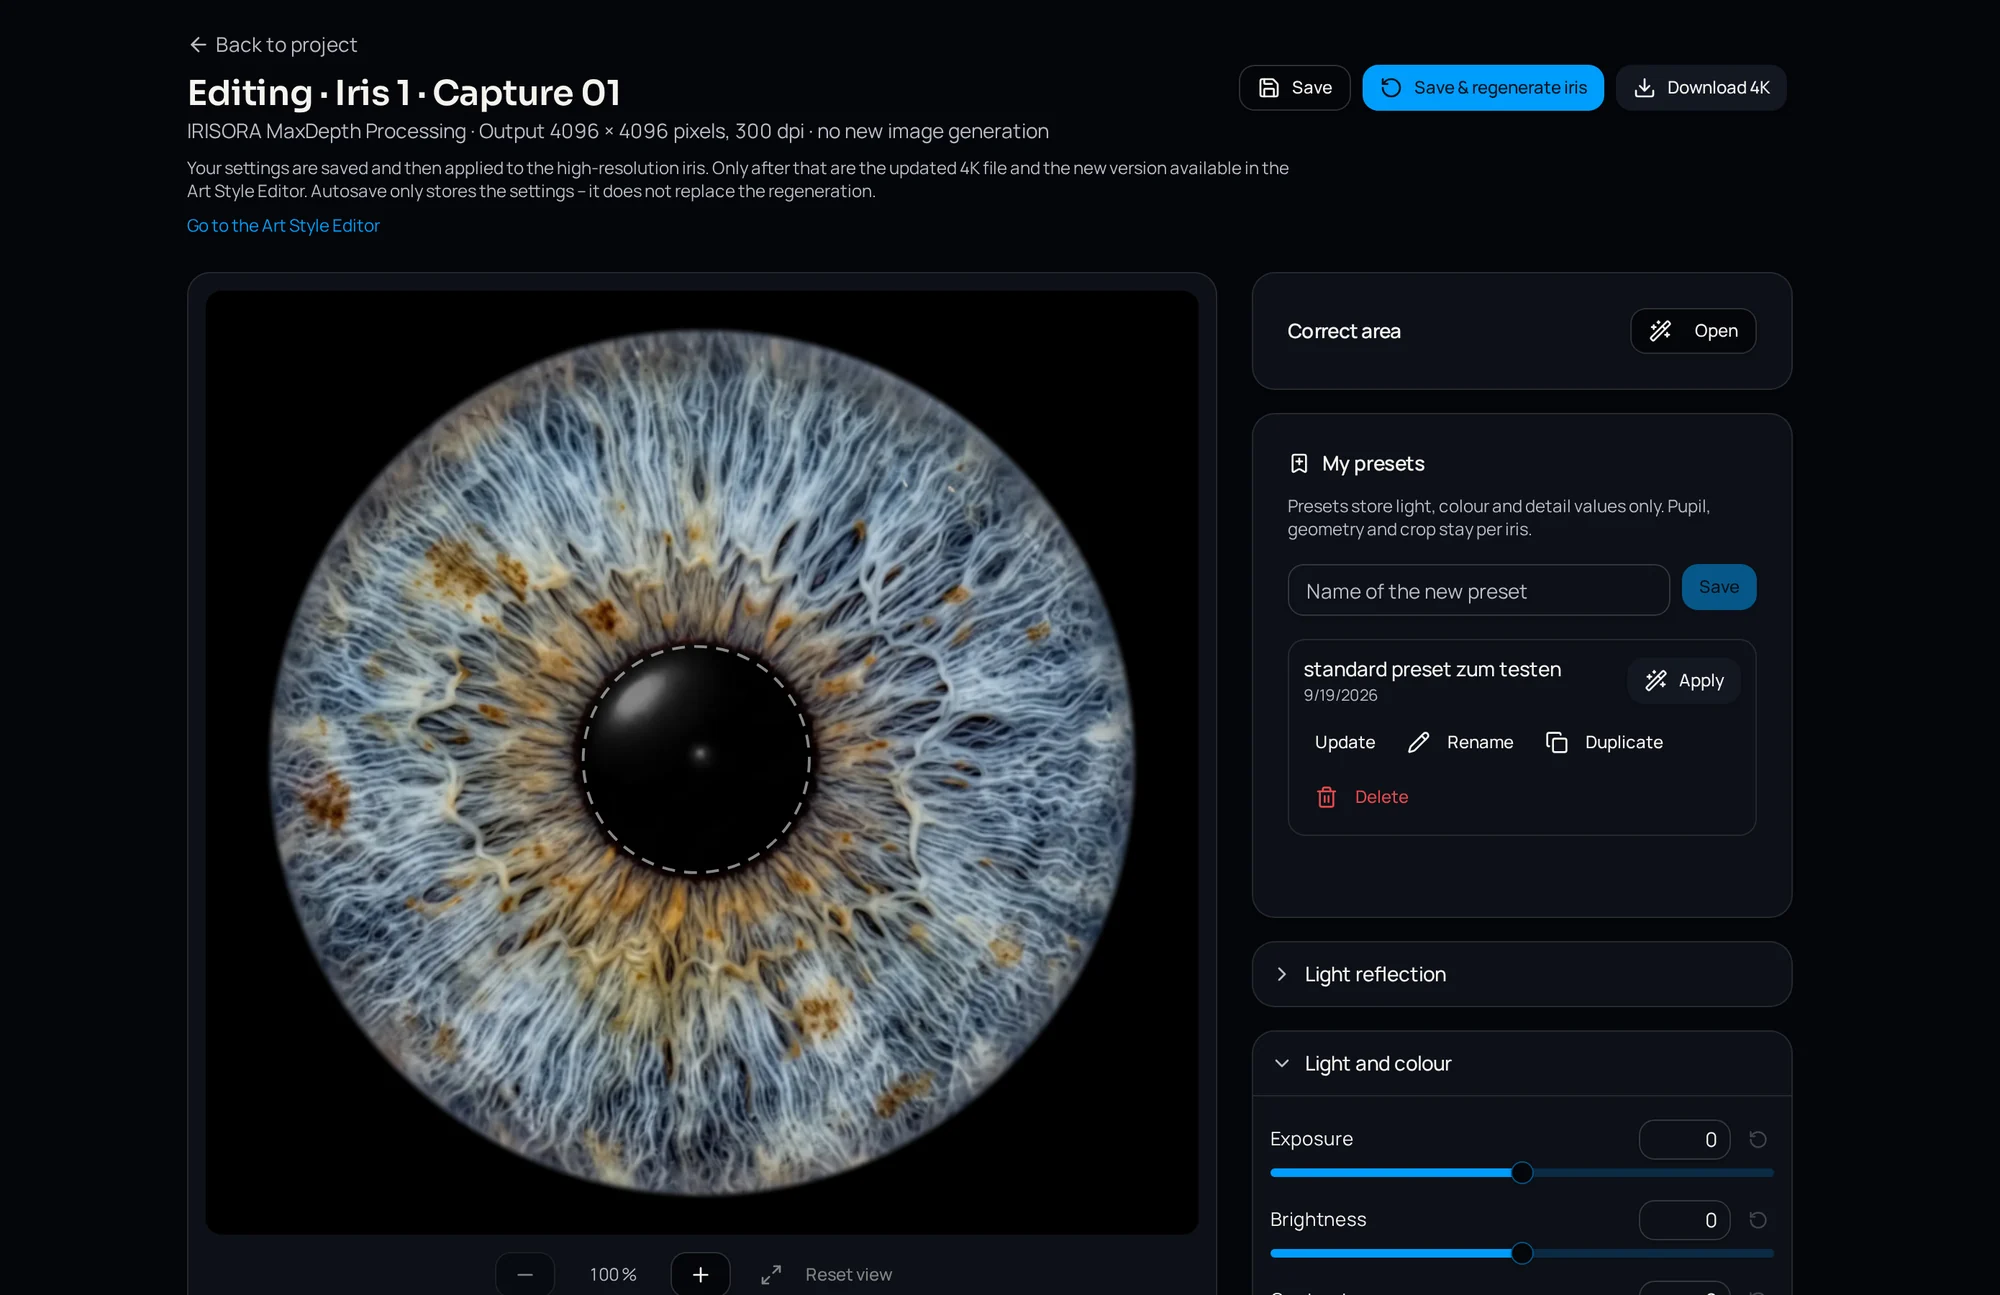
3. Review
Each version comes with a quality check and concrete findings. The iris editor lets you fine-tune.
4. Use it
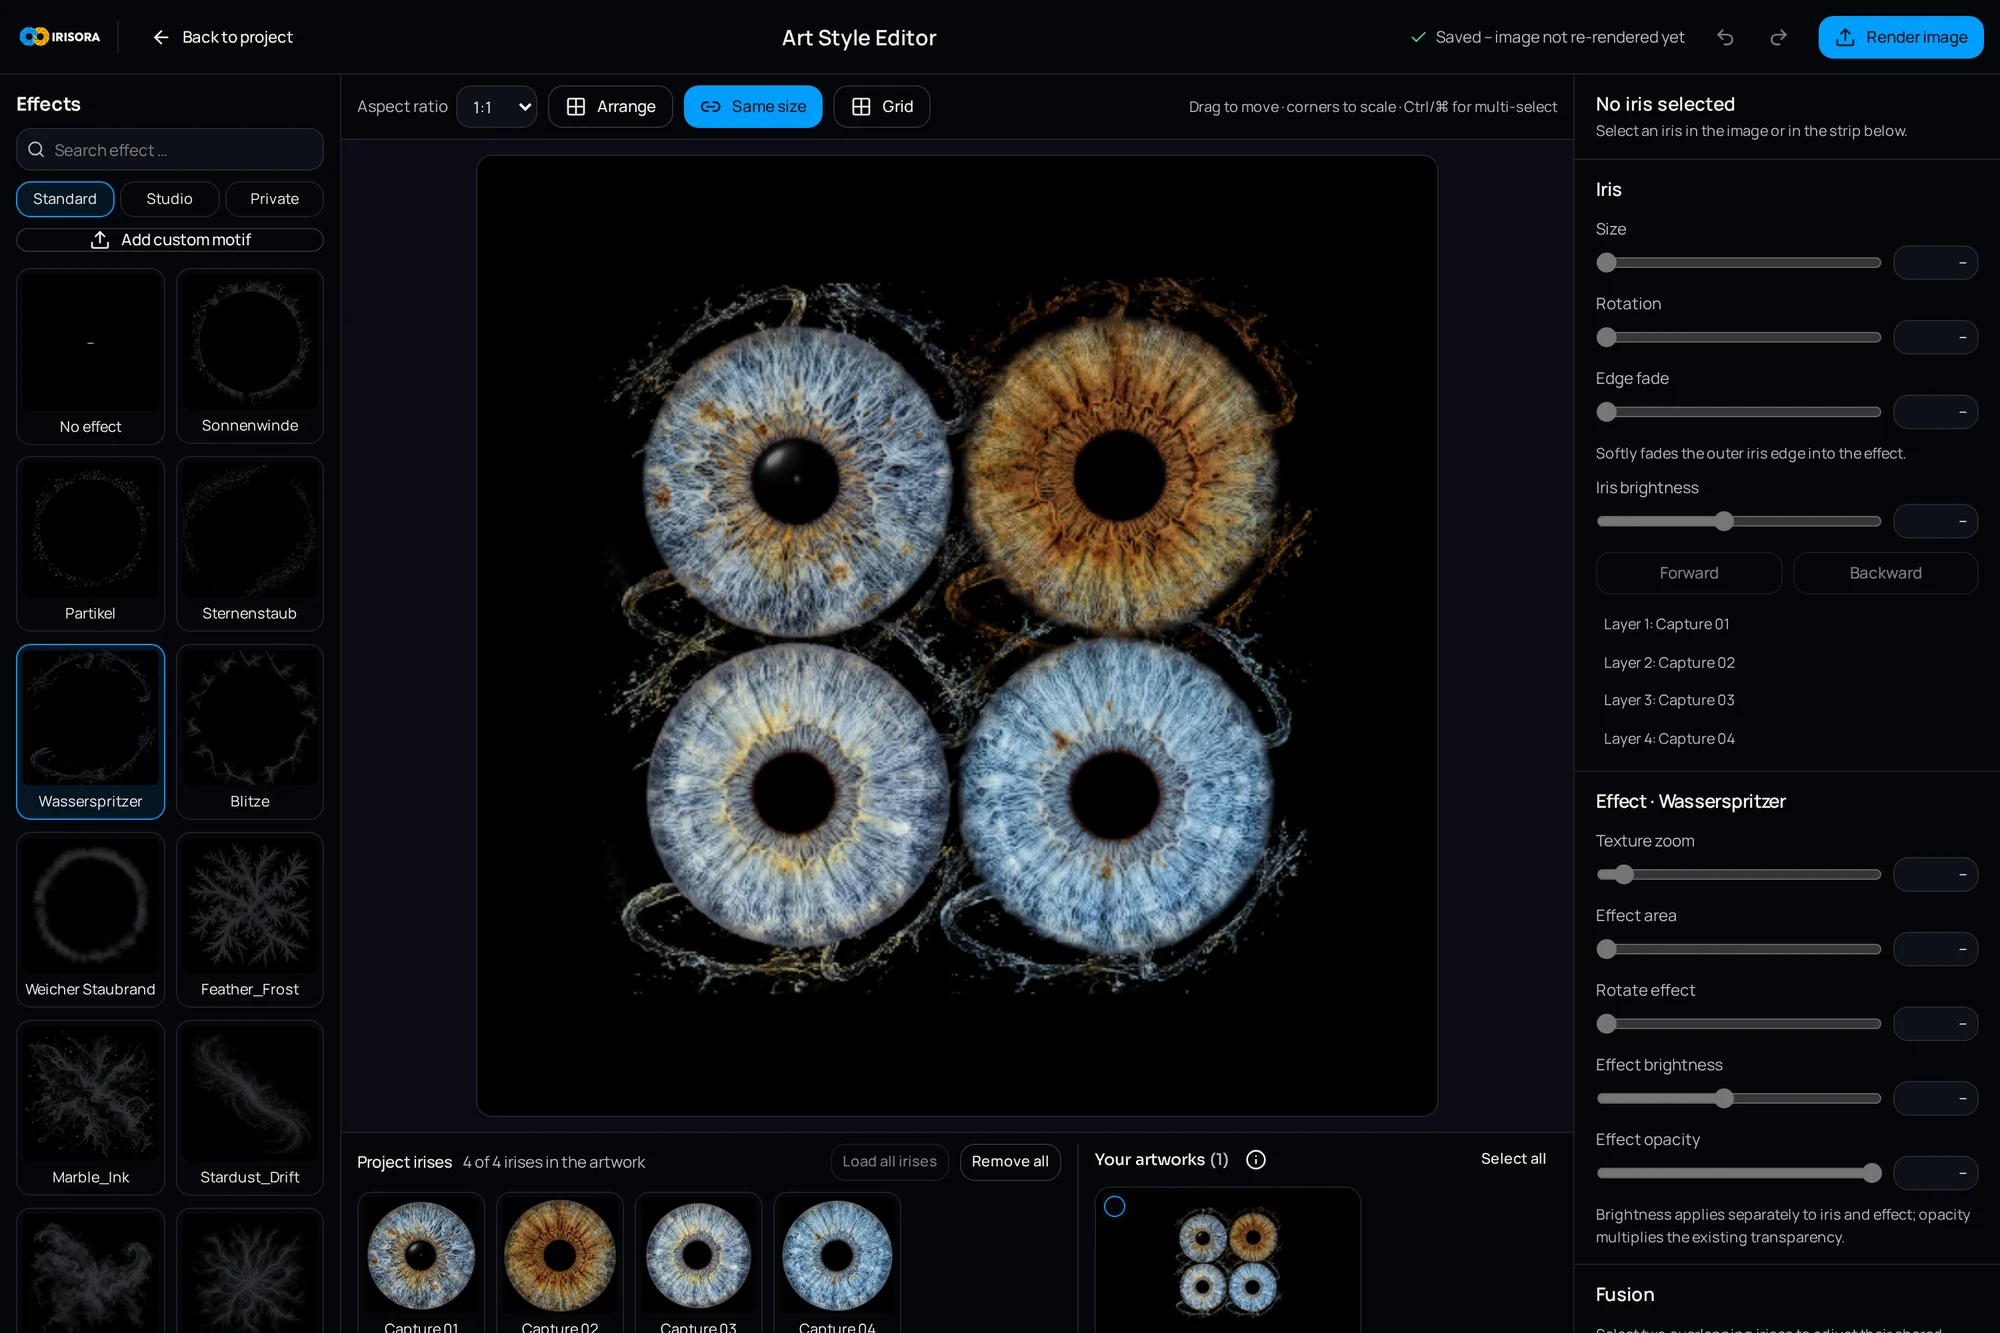
Download the finished iris for your own workflow – or design it further in the Art Style Editor.
What you need
- A sharp iris capture from your studio
- A browser – no installation
- A free studio account
What you end up with
A cut-out iris at 4096 × 4096 pixels, 300 dpi, with an alpha channel – ready for layout and print. Optionally a designed artwork from the Art Style Editor as well.
More detail
Try it yourself
Register for free and start with 5 free editing credits.
5 free iris edits included