Editing the iris
How to edit iris photos professionally
Iris editing looks like portrait retouching from a distance. It is not. The subject is a circular, radially structured pattern that the client already knows by heart — and that changes almost every decision.
Short answer
Professional iris editing follows a fixed order: judge the capture, establish the iris boundary as a full circle, remove distractions such as lashes and reflections, develop structure and colour separately, cut the iris out with a soft falloff, then check the result at 100 percent. Most of these steps repeat identically on every iris, which is why studios standardise them and keep creative decisions for the design stage.
What makes iris editing different from portrait retouching
In portrait work the eye is one element among many, and small liberties go unnoticed. In iris photography the iris fills the frame, gets printed large, and belongs to someone who has looked at it in the mirror their whole life.
Three consequences follow. The pattern is individual, so anything invented is visibly invented. The subject is circular, so the outer edge must be a circle rather than the shape the eyelid happens to leave visible. And the viewer gets close, so edge quality and micro-structure matter more than overall punch.
Step 1 – judge the capture honestly
The most valuable minute in the whole process is the one spent deciding whether a file is worth editing. Three checks answer that:
- Is focus on the iris plane, not on the lashes in front of it?
- Is the iris exposed brightly enough without a clipped, detail-free highlight?
- Is a substantial part of the limbus visible on both the left and right side?
Important
If focus sits on the lashes, no amount of sharpening recovers the iris. Sharpening adds edge contrast, not structure. A re-shoot costs minutes; a soft delivery costs a client.
Step 2 – establish the iris boundary
Why it is a circle
Every iris is close to circular. What the camera records is that circle partly covered by the upper and lower eyelid, so the visible outline is not the boundary — it is the boundary minus the lids.
The correct approach is to estimate the full circle from the limbus segments that are visible, usually at three and nine o'clock, and then use that circle as the mask. Tracing the visible outline produces a shape that reads as an eye opening rather than an iris. The detail is covered in how to isolate an iris.
Centre and radius
The pupil centre is the anchor for radius, structure work and later design. Get it right early: a centre that is off by a few percent produces a mask that is slightly eccentric, and eccentricity is far more visible in a circular subject than in any other shape.
Step 3 – distractions: lashes, lid edges, reflections
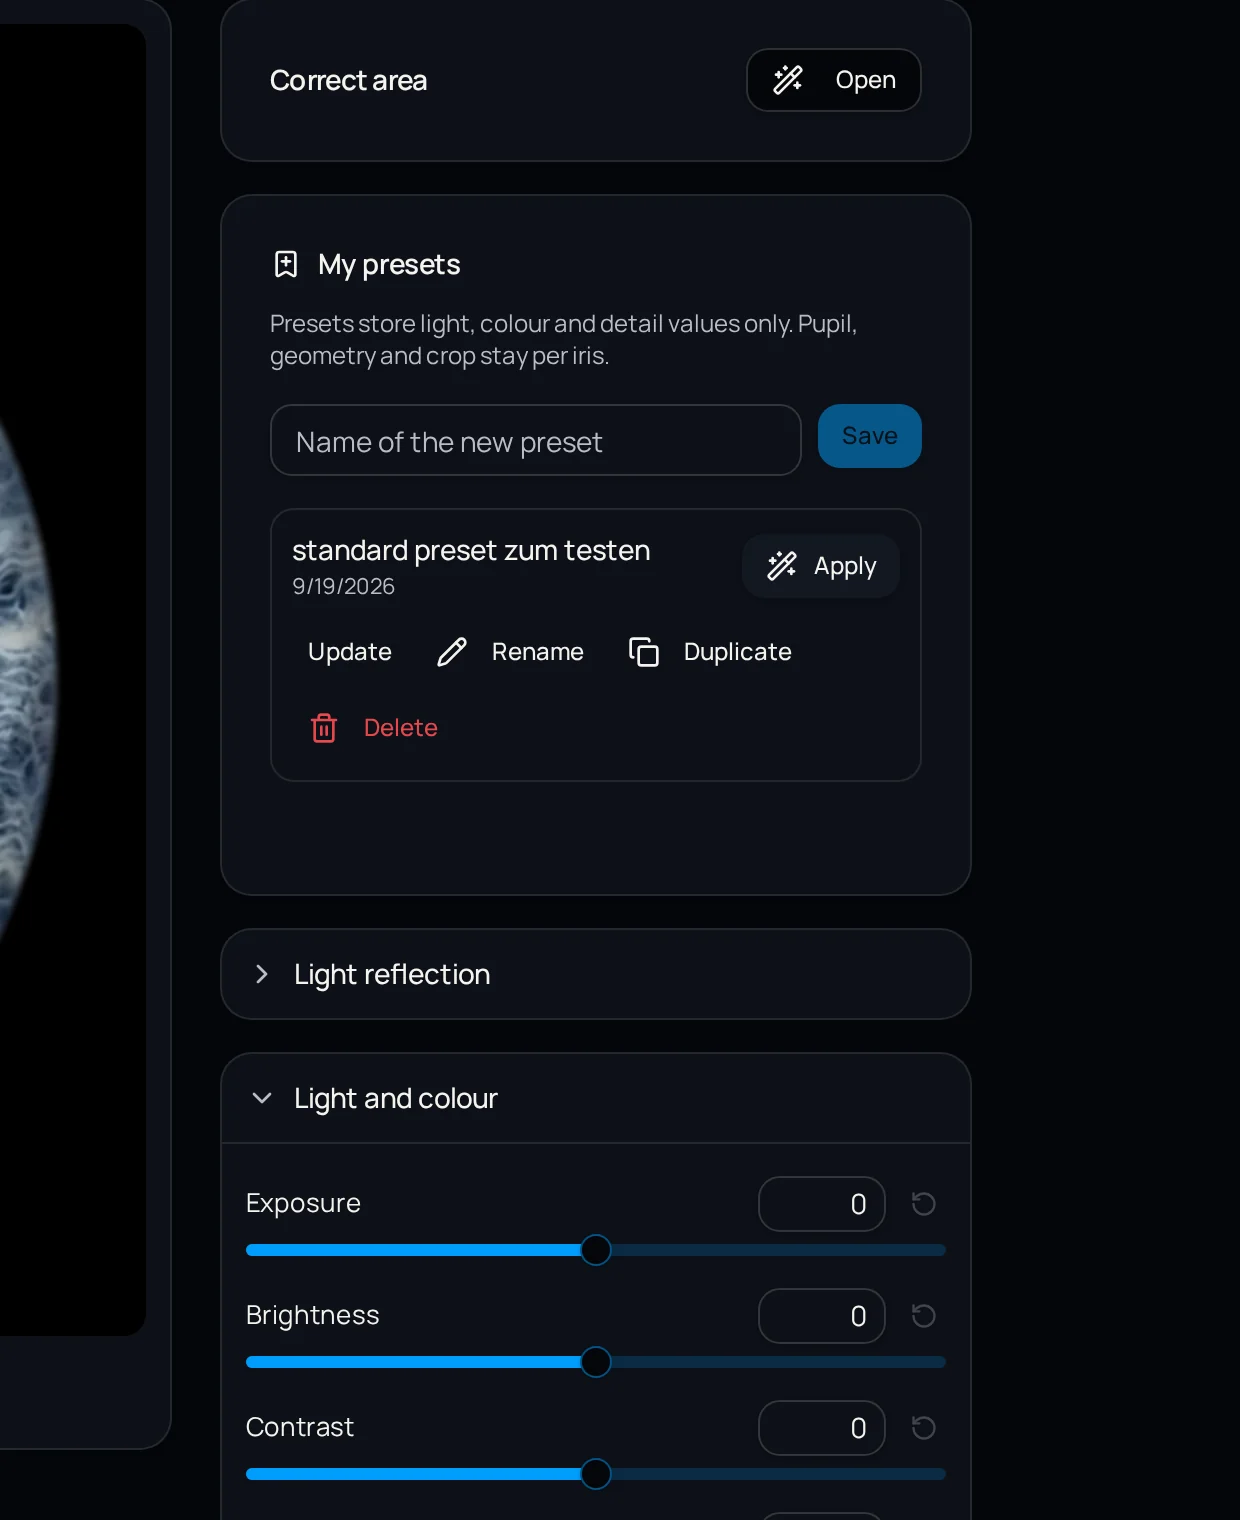
Work on distractions before structure, not after. A retouched area that is later sharpened stays visible as a soft patch, and a lash crossing the limbus corrupts the mask if it is left in place.
The rule for replacement material is simple and often broken: take it from the same radial zone. The pupillary zone near the pupil and the ciliary zone near the outer edge carry different patterns, and the fibres run outward. Material moved across zones runs against the grain and is obvious in print.
Detailed treatment of the two most common cases is in eyelashes in iris photography and reflections in iris photography.
Common mistake
Blanket smoothing of the upper iris to deal with lashes leaves an iris that is detailed at the bottom and empty at the top. In a large print, that imbalance draws more attention than the lashes ever did.
Step 4 – structure and colour, kept apart
Structure
What the client wants to see is fibre detail, crypts and pigment zones. Local contrast on a small scale brings those out; global contrast mostly crushes the darker zones where brown irises hold most of their information.
The failure mode to watch for is haloing — bright rims along every crypt edge. It reads as sharpness on screen and as artificial in print, and it only shows up at 100 percent view.
Colour
Colour work is correction of capture conditions, not redesign of the eye. Fix the white balance, then adjust saturation in small steps and check against the untouched file.
A blue-grey iris turning turquoise is the standard sign that saturation was pushed globally. The boundaries between correction and creative recolouring are set out in keeping natural iris colours.
Step 5 – cutting out and the final background
The cut-out produces a transparent iris that can be placed on any background later. Two things decide whether it looks right: the falloff at the edge and whether any scleral white survived inside the mask.
A pixel-hard edge looks cut with scissors, a wide feather looks blurry. A narrow, even transition reads as natural. And a bright rim around the iris — leftover sclera — is the single most common giveaway of a rushed job, because it only becomes visible once the iris sits on a dark background.
Quality check
Place the cut-out iris on pure black and on mid grey before approving it. Bright fringes show up on black, dark fringes show up on grey.
Output: one size, two files
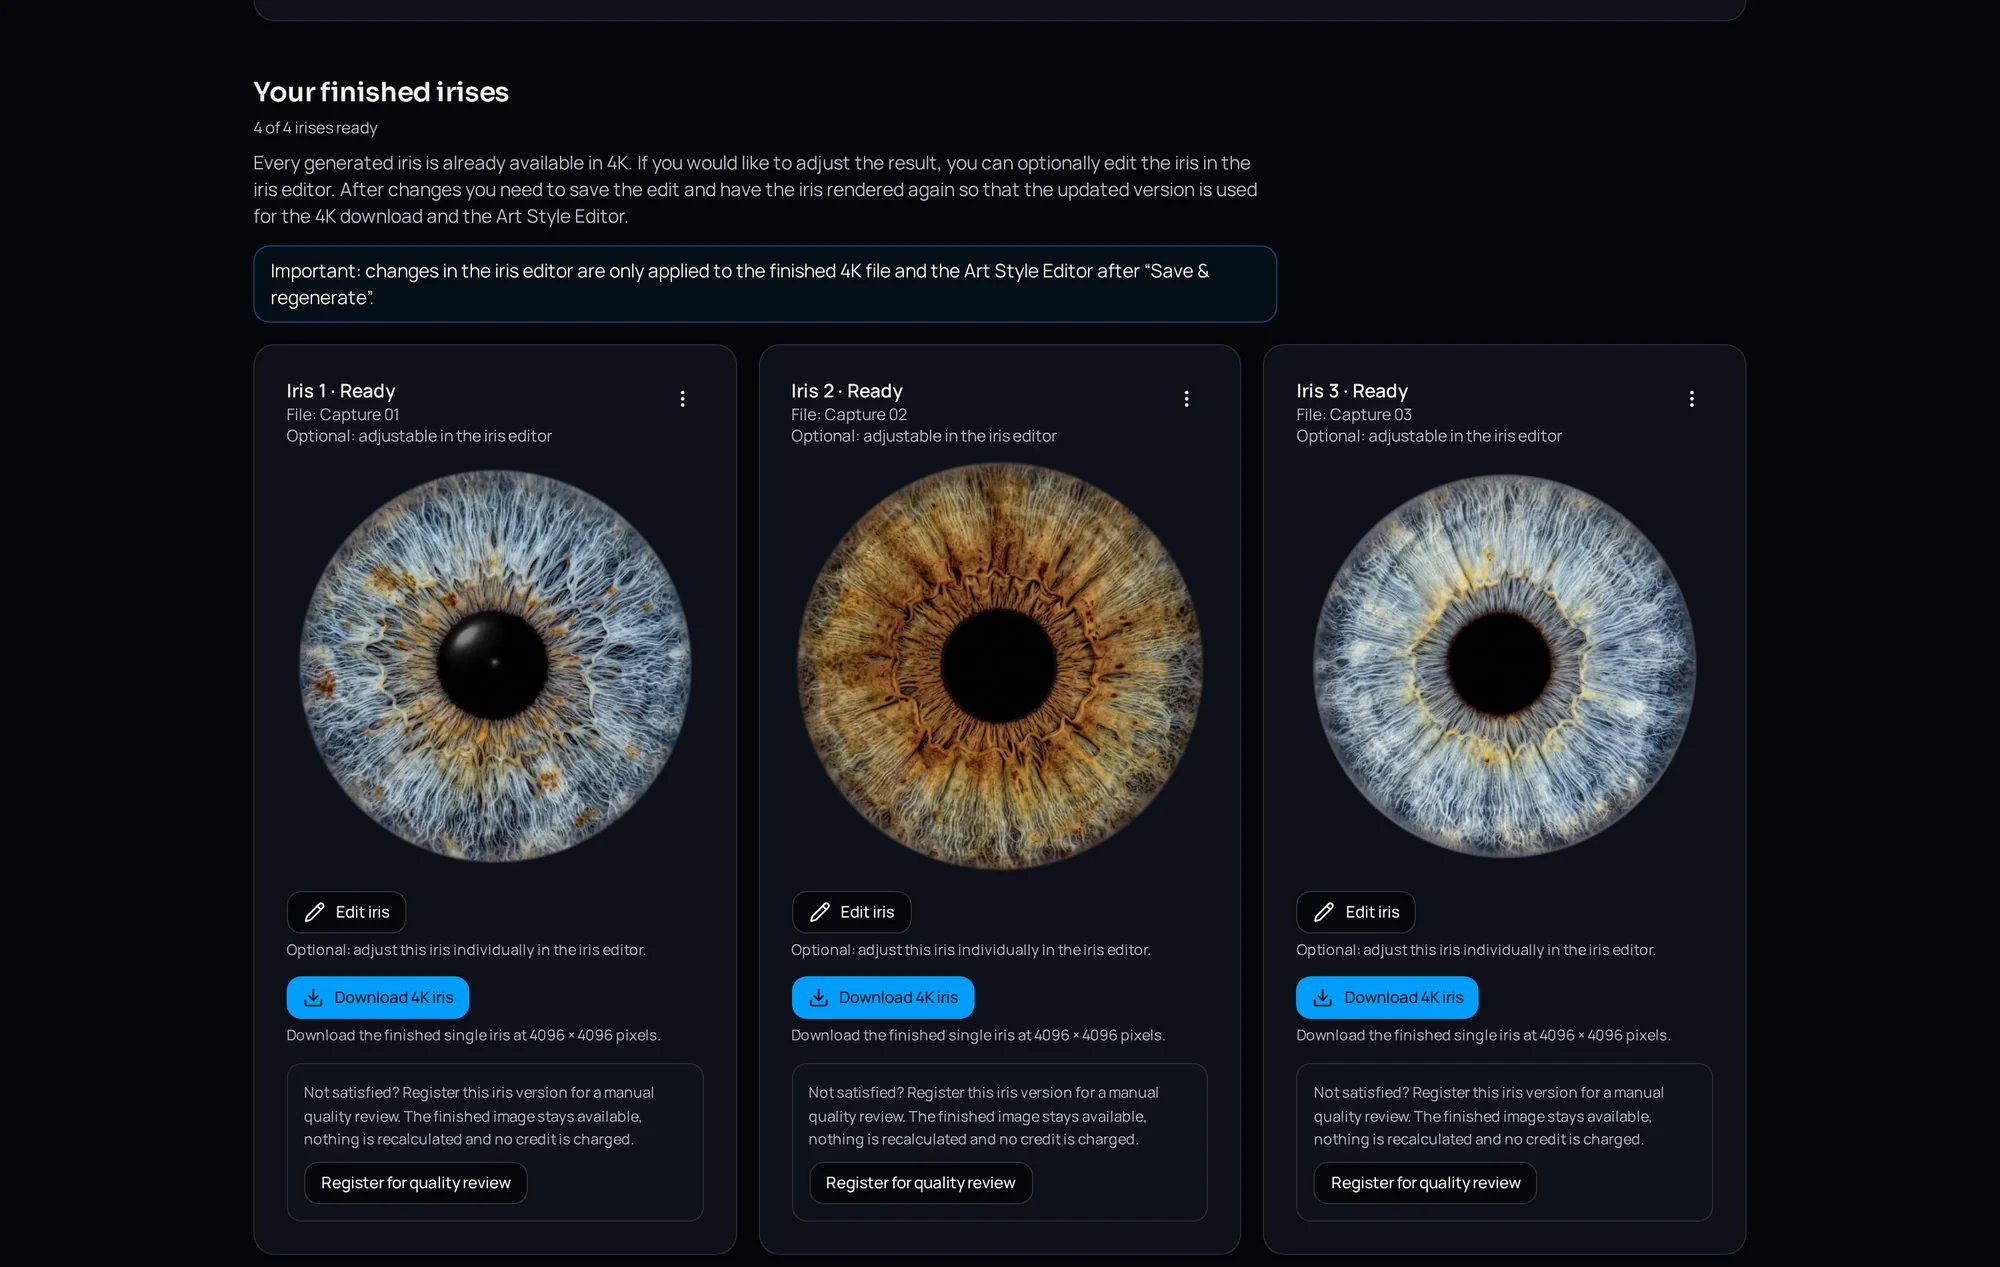
A round subject fits a square frame with the least waste, which is why iris deliverables are usually square. IRISORA outputs every processed iris at 4096 × 4096 pixels, which covers everything from small prints to large wall pieces at normal viewing distances. What that means for print sizes is explained in iris photo resolution.
Keep the print file and the preview file separate from the start. Preview files get emailed, posted and forwarded; print files should not.
House style versus stock effects
The technical preparation described above is the same everywhere. What distinguishes one studio from another happens afterwards: background, framing, how two irises are arranged, how restrained or dramatic the treatment is.
That is worth deciding once and repeating, rather than choosing per client. See how to create iris art for the design stage.
Quality control before delivery
IRISORA runs a fixed set of checks on every generated version — including circularity of the boundary, coverage of the iris area and leftover lid or foreign regions inside the circle — and flags anomalies instead of quietly smoothing them. The rest of the pipeline is described on the iris photo editing page.
- View at 100 percent — not fit-to-screen
- Run the edge once around the full circle
- Check the pupil transition for a hard circular seam
- Compare left and right eye side by side for colour and brightness
- Compare against the untouched capture: is every difference defensible?
Frequently asked questions
- How long does it take to edit one iris manually?
- With careful masking, distraction removal, structure work and colour matching, 20 to 60 minutes per iris is realistic — so one to two hours for a client with two eyes.
- Can a soft iris capture be rescued in post?
- No. Sharpening increases edge contrast but adds no structure. Tools that appear to add detail are generating a plausible pattern, not recovering the photographed one.
- Should the pupil be made pure black?
- A deep, even pupil usually anchors the image, but the transition into the fibres should stay soft. A hard black circle pasted over the pupil is immediately recognisable.
Related reading
Run one of your own captures through the workflow
Upload a file, see the prepared 4096 × 4096 result and the quality report that comes with it. Five free edits, no base fee.
5 free iris edits included